Whether you are dealing with lengthy sentences, and data sets, or simply aiming for a more organized presentation, understanding the various techniques to make text go to the next line in Excel can significantly enhance your Excel proficiency. In this comprehensive guide, we will delve into two powerful methods, each with its advantages, to seamlessly make Excel go to the next line.
The Basic Approach: Inserting Line Breaks with Wrap Text
How to Enable Wrap Text Feature
Wrap Text is a versatile feature in Excel that allows you to display text on multiple lines within a single cell. Here’s how you can use this feature:
- Identify the Cell: Locate the cell containing the text you want to break into multiple lines.
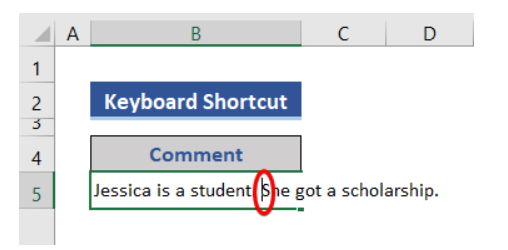
- Access Alignment Group: Click on the desired cell, then navigate to the Alignment group.
- Enable Wrap Text: In the Alignment group, select the Wrap Text feature.

- Adjust Width and Length: After enabling Wrap Text, adjust the width and length of the cell as needed.

By following these steps, you’ll notice a seamless transition to the next line within the cell, creating a more visually appealing and organized presentation of your data.
Going Beyond: Automating Line Breaks with Excel Formulas
Utilizing Excel Functions for Automatic Line Breaks
For those seeking a more automated approach, Excel offers powerful functions like CONCATENATE, TEXTJOIN, and CHAR(10) to join texts and add line breaks automatically.
Example 1: Using the CONCATENATE Function
- Prepare Your Data: Have a list of items you want to join and break into new lines.

- Select the Target Cell: Identify the cell where you want the new lines to appear.

- Apply Formula: Use the CONCATENATE function along with CHAR(10) to concatenate text with line breaks.

=CONCATENATE(B5,CHAR(10),B6,CHAR(10),B7,CHAR(10),B8,CHAR(10),B9)

- Adjust Cell Length: After applying the formula, adjust the length of the corresponding cell.

Example 2: Leveraging TEXTJOIN Function
- Prepare Your Data: Similar to the CONCATENATE example, have a list of items.
- Select the Target Cell: Choose the cell where you want to see the new lines.
- Apply Formula: Use the TEXTJOIN function along with CHAR(10) for automatic line breaks.

=TEXTJOIN(CHAR(10),TRUE,B5:B9)
- Adjust Cell Length: As with the CONCATENATE method, ensure the cell’s length is adjusted accordingly.
By incorporating these formulas, Excel becomes a powerful tool for automatically organizing your data with clear line breaks.
Overcoming Challenges for Seamless Text Wrapping
While Excel provides a plethora of tools, users may encounter challenges in certain scenarios. Here are some troubleshooting tips to address potential issues:
1. Large Datasets and Automatic Text Wrapping
In situations where dealing with large datasets, automatic text wrapping may lead to irregularities. Consider adjusting column widths to allow for better alignment of wrapped text. Alternatively, explore the “Merge & Center” option judiciously to maintain a consistent appearance.
2. Merged Cells and Text Wrap Compatibility
Merged cells can pose challenges when working with text wrap. Ensure compatibility by either avoiding merging cells or carefully adjusting the settings to accommodate the desired layout. Experiment with different combinations to find the optimal solution for your specific spreadsheet.
3. Inconsistencies in Wrapped Text Display
If you notice inconsistencies in how wrapped text is displayed, double-check for hidden characters or spaces that might impact the formatting. Utilize the “Show/Hide” button in the Home tab to reveal any hidden elements and make necessary adjustments.
4. Cell Borders and Wrap Text Functionality
Be mindful of cell borders, as they can influence the appearance of wrapped text. Experiment with border settings to achieve a clean and professional look without compromising the effectiveness of text wrap.
Conclusion
In conclusion, mastering the art of making text go to the next line in Excel is pivotal for effective data presentation and organization. Whether you prefer the straightforward Wrap Text feature or the automated approach using Excel functions, the choice ultimately depends on your specific needs and preferences. Incorporate these techniques into your Excel repertoire, and witness a significant enhancement in your spreadsheet skills.