Creating professional mailing labels has never been easier, thanks to Excel’s flexible tools. Whether you need to print labels for a mass mailing or just organize a few envelopes, this step-by-step guide will walk you through a foolproof method to design customized labels with mail merge capabilities.
From setting up your address list to incorporating personalized formatting, you’ll learn the ins and outs of label generation while saving time and effort. So grab some label sheets, and let’s dive into the simple joy of Excel label creation.
Step 1: Get Your Address List in Excel Sorted
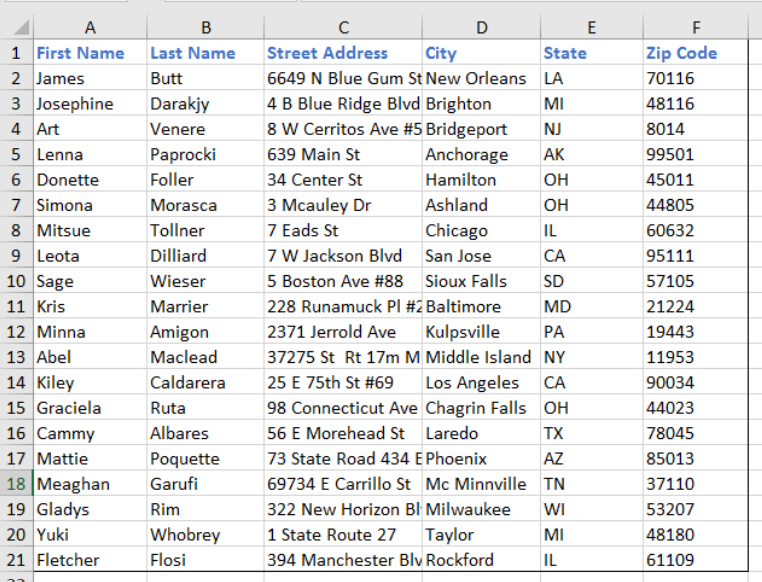
Let’s kick things off by organizing your address list in Excel. Keep it simple with columns like First Name, Last Name, Street Address, City, State, and ZIP Code.
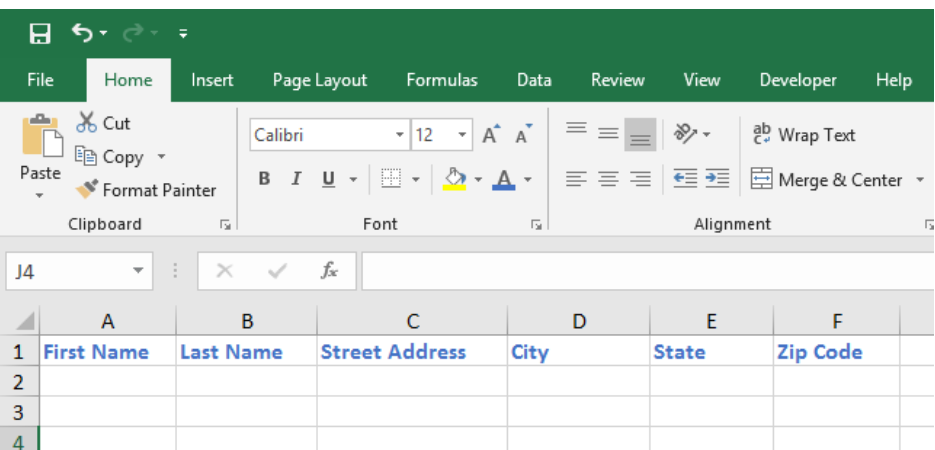
Here’s a nifty trick – instead of one big name column, split it into title, first name, middle name, and last name. Also, format that ZIP Code column as text to avoid any hiccups.
Pro Tip: Give your address list a name using the Defined Names feature for a tidy setup. Oh, and don’t forget to save your Excel worksheet; it’s like a safety net.

Step 2: Rock Your Mail Merge Document in Word
Now, let’s slide into Microsoft Word to merge things up. Open a new Word doc,

Hit up the Mailings tab and choose “Start Mail Merge,” followed by “Step by Step Mail Merge Wizard.” It’s like magic, but for labels.

Picking Label Options
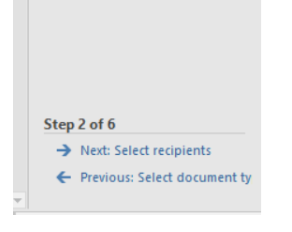
In the Mail Merge pane, hit up “Labels” and cruise to the next step by clicking “Next: Starting document.”

Fancy changing the layout? Go for it. We’re all about making things your own.

Dive into Label options – pick your printer deets, label sheet supplier, and product number from the label package.

Click “Details” to jazz up your label format. Be the master of your labels’ destiny!

Step 3: Connect Your Excel Worksheet to the Labels
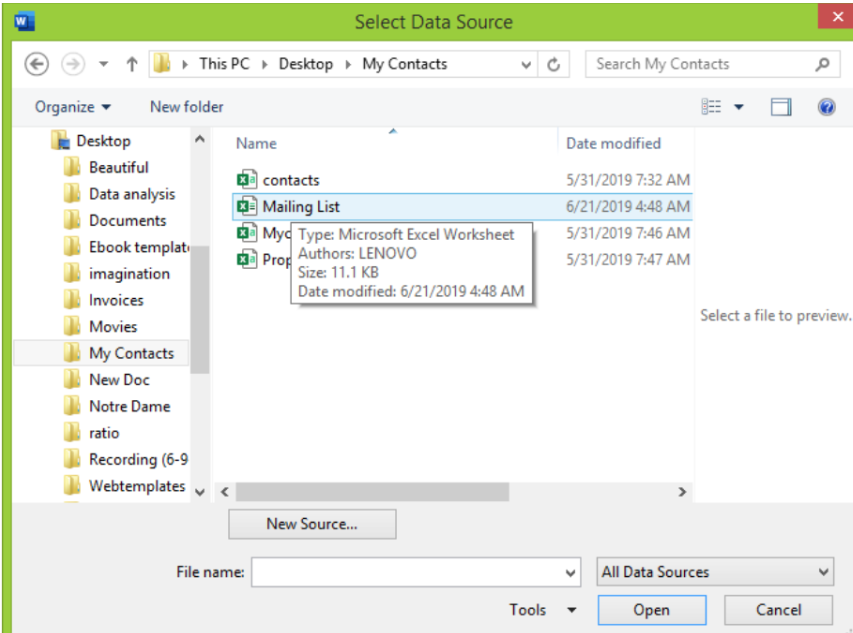
Time for the magic connection. Head to “Select recipients.”
And choose “Use an existing list.”
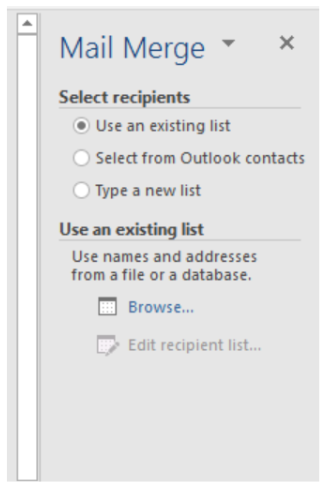
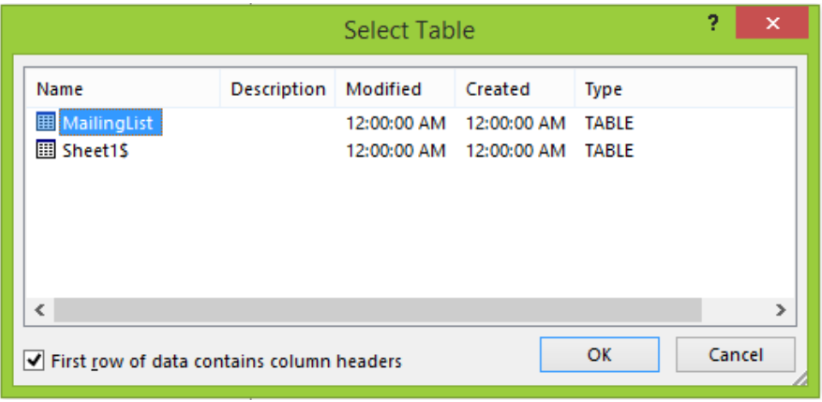
Click ‘Browse,’ find your Excel worksheet, and select the Defined name you set earlier.
Tick “first row of data contains column headers” for a smooth ride.
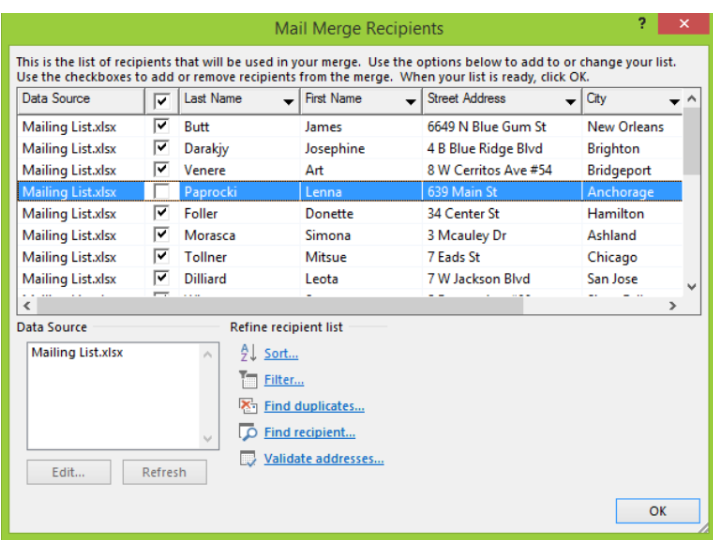
Step 4: Fine-Tune Your Recipients
Let’s get picky with it. In the Mail Merge Recipients Window, uncheck boxes for recipients you don’t want on your labels. It’s like a VIP list for your labels. You can even filter out blanks or sort by region—your call.
Step 5: Label Layout Jazz
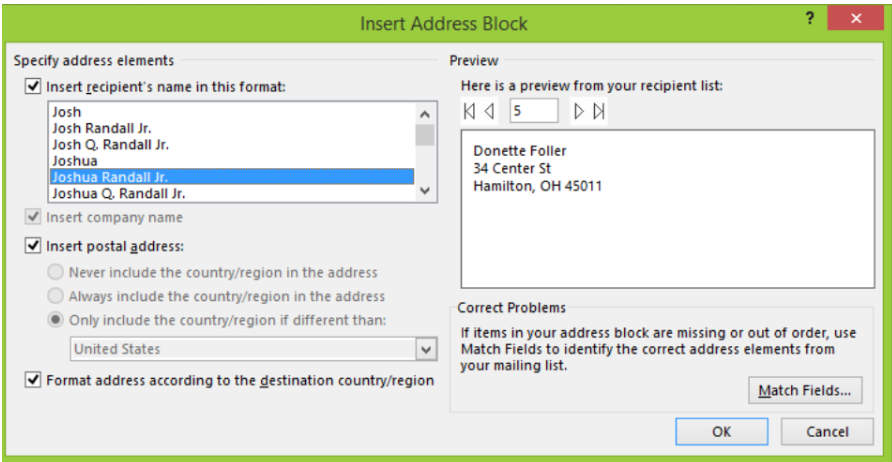
Back to the Mail Merge pane, click “Address block.”
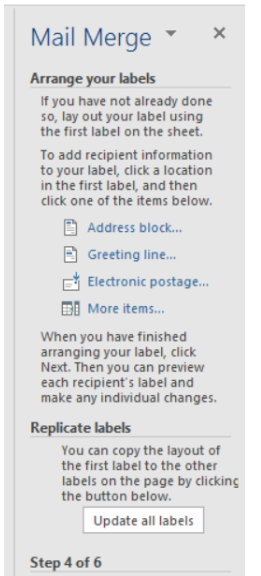
In the pop-up, tweak the options to your liking. Check the preview to make sure it’s your kind of label party. Click ‘OK’ when you’re feeling it.
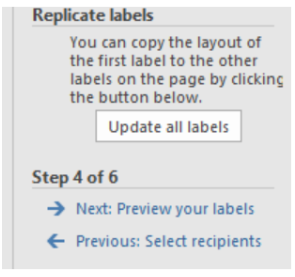
Step 6: Preview Your Label Fiesta
Click those right/left arrows in the Mail Merge pane to preview your labels.
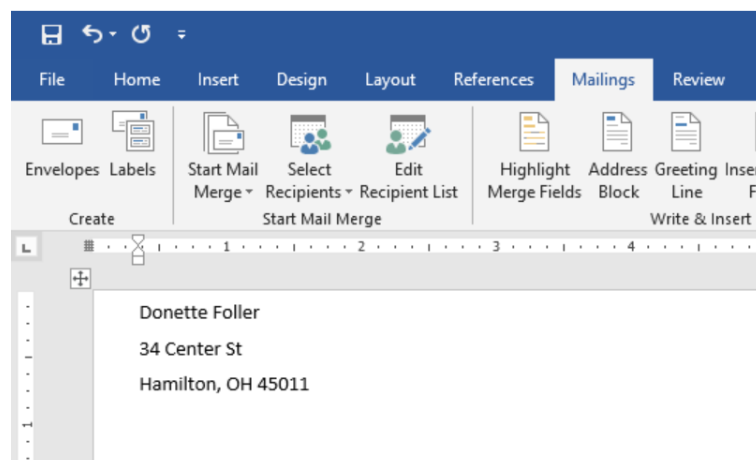
Here is what a preview of your mailing list will look like:
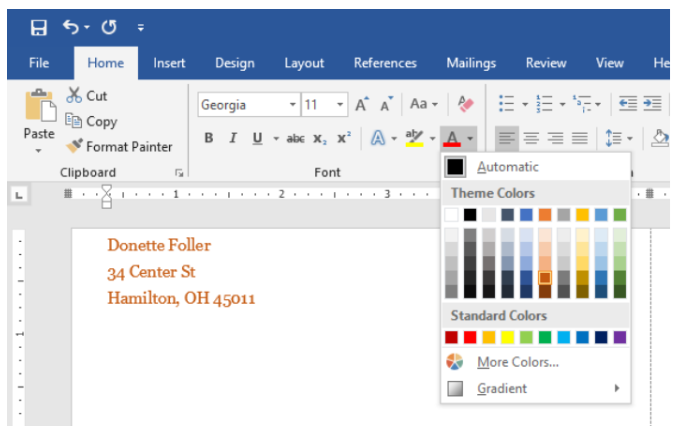
See something you want to change? No worries. Highlight, go to the Home Tab, and tweak away until you’re vibing with your labels.
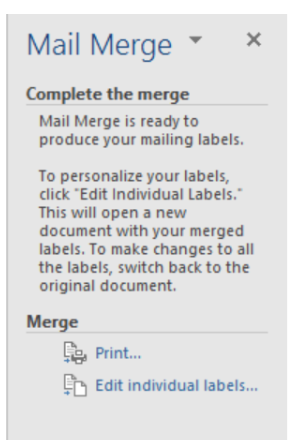
Step 7: Print Your Label Masterpieces
Ready to bring your labels to life? Hit ‘Print’ in the Mail Merge pane. Decide if you’re printing all or just a select few – it’s like having the power of label choice in your hands.
Step 8: Save Your Label Mojo for Later
Preserve your label setup for future label brilliance. Two ways to go about it:
Option A: Keep the Excel Link Alive
Hit ‘Save’ and keep the Word doc linked to your Excel source file. This means any future Excel additions seamlessly pop up in your Mail Merge.
Option B: Go Standalone with Plain Text Labels
Feeling more independent? Save merged labels as plain text. Click “Edit Individual labels” in the Mail Merge pane, choose your labels, and save them as a regular Word doc. No more link, no more fuss.
Conclusion
Follow these straightforward steps, and before you know it, you’ll have print sheets of polished mailing labels ready for any mailing need. Take advantage of Excel’s mail merge magic to connect labeling templates with your contact data sources for efficiency. And don’t forget the pro design tips – add columns for prefix/suffix details, leave blank rows between groups, and use high-quality label paper. With some initial setup and by leveraging these best practices, creating labels in Excel will become second nature. Whether you need to organize a mass mailing or just a few birthday cards, generating personalized labels is now at your fingertips.