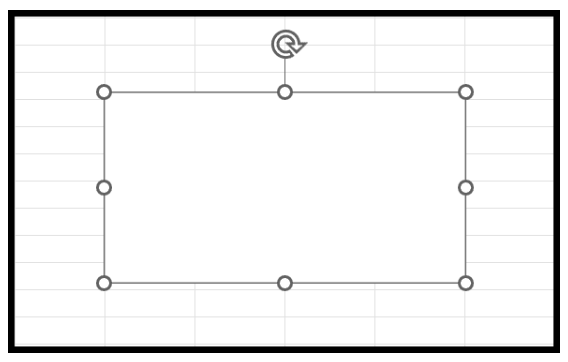
Text boxes are a useful feature in Excel that allows users to insert descriptive text, titles, and labels next to cells, charts, tables, and other objects. As the article explains, text boxes have many applications – from organizing data visually to providing explanatory notes.
However, they can be tricky to format and position properly. This guide provides helpful instructions on how to insert text boxes in Excel and offers tips for utilizing them effectively in spreadsheets.
When to Use Text Boxes in Excel Spreadsheets
Text boxes have many uses in Excel. Here are some common reasons you may want to insert one:
Adding titles or descriptive labels – Text boxes allow you to put titles on charts, tables, and other objects or areas of a spreadsheet. They make it easy to clearly label parts of your data visually.
Providing explanatory information – Use text boxes near cells or charts to explain what the data means, how it should be interpreted, where it came from, etc.
Organizing worksheet areas – Insert text boxes to visually separate and label different sections or uses of your spreadsheet, such as different data sets or calculations.
Emphasizing important values – Draw attention to key cells like totals or KPIs by placing descriptive text boxes alongside them.
Adding notes and instructions – Use text boxes to provide methodology notes, data source info, or instructions for using the spreadsheet.
How to Insert a Text Box in Excel
Inserting a text box is simple in Excel for the web, Windows, and Mac. Follow these steps:
Step 1: Go to the Insert tab
Go to the Insert tab on Excel’s ribbon. This is where all the options for inserting objects like text boxes can be found.
Step 2: Click the Text Box icon
In the Text group of the Insert tab, click the Text Box icon.

Step 3: Click and drag to draw the text box
After clicking the Text Box icon, your mouse cursor will change to a crosshair icon. In your worksheet, click and drag to draw out the size and shape you want for your text box.

Step 4: Type your text
A cursor will appear in the text box automatically after you draw it out. Type whatever text you want to appear inside the box.

Step 5: Format the text box (optional)
If desired, use the Format tab that appears on the ribbon when you have the text box selected to change formatting like:
- Text wrapping style
- Fill and border colors
- Font/size
- Alignment and text direction
- Size and shape
And that’s all there is to it! Once inserted, you can move, resize, or delete a text box just like other objects in Excel.
Text Box Tips for Excel Spreadsheets
Here are some helpful tips for working with and formatting text boxes effectively in Excel:
- Set clear contrasts between text boxes and worksheet background colors so the text stands out. Don’t use colors that visually compete.
- Keep explanatory text boxes close to the relevant parts of the spreadsheet they are describing.
- Use text wrapping to control how worksheet data fits around the text box.
- Resize the text box height to match the amount of text needed rather than having too much empty unused space.
- Use built-in text box styles like Title and Subtitle to quickly give text hierarchy.
- Rotate text box direction to diagonal angles if you want column labels on the side rather than the top.
- Align text appropriately like centered or left-justified depending on the look you want.
- Set borders and fill colors on text boxes to make them stand out more on the worksheet.
- Group text boxes with related charts or worksheet cells so they stay positioned together if you move them.
Common Text Box Issues in Excel
While indispensable, text boxes do come with a few quirks to be aware of. Here are some common problems users run into:
Text Boxes Overlap Worksheet Content
If text boxes overlay cell data or parts of charts, it gets confusing.
The Fix: Use text wrapping formatting to control data flow around the text box edges.
Text Boxes Don’t Resize Properly With Cells
When cells change height/width, text boxes may overlap other objects or show awkward empty spaces.
The Fix: Set row heights/column widths appropriately or anchor the text boxes in place.
Text Disappears When Adding Too Much
If you add more text than a text box was sized for, it won’t show past a certain point.
The Fix: Set auto-expanding behavior to grow the box as you type or manually resize taller/wider before adding the text.
Text Box Printing Issues
What looks good on the screen may not print properly.
The Fix: Check the print preview first and adjust text box sizing or formatting if lines are getting cut off.
Conclusion
As illustrated, inserting text boxes in Excel is straightforward – just go to the Insert tab, click the Text Box icon, draw it out, and start typing. But properly formatting text boxes takes finesse. You need to consider text wrapping, positioning, borders and fill colors, and how the text boxes will appear when printed.
While text boxes enrich spreadsheets visually, be cautious of issues like overlapping objects. Following best practices for text box alignment, anchoring, and expanding behavior will lead to informative text boxes that integrate seamlessly alongside your Excel data.
