If you’re a frequent user of Microsoft Excel, you know how important it is to keep your spreadsheets organized and clutter-free. Headers, while useful, can sometimes become unnecessary or outdated, and learning how to efficiently remove them can significantly enhance your Excel experience. In this detailed guide, we’ll walk you through the step-by-step process of deleting headers in Excel, providing you with valuable insights and tips along the way.
Understanding Header Removal
Headers are a common feature in Excel spreadsheets, serving as labels at the top of each column to provide context and clarity to your data. However, there are instances when these headers are no longer needed, such as when you’re reformatting a sheet, sharing data, or printing a clean report.
Removing headers not only improves the visual appeal of your spreadsheet but also eliminates confusion and potential errors that may arise from outdated or irrelevant header information.
Step 1: Access Your Excel Spreadsheet
Begin by launching Microsoft Excel and opening the spreadsheet from which you wish to remove the header. Make sure you’re working with the correct file, as changes made to your spreadsheet cannot be undone.
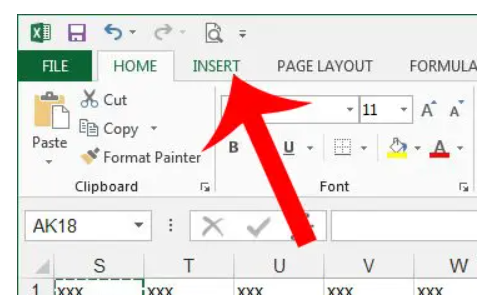
Step 2: Navigating to the Insert Tab
Upon opening your spreadsheet, locate the tabs at the top of the Excel window. The tab we’re interested in is the “Insert” tab. Clicking on this tab will reveal a range of options to enhance your spreadsheet.
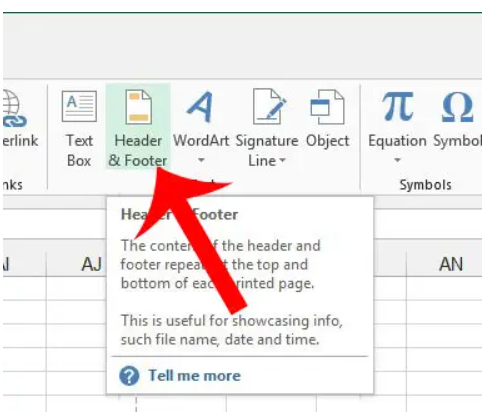
Step 3: Header & Footer Button
Within the “Insert” tab, direct your attention to the “Text” section. Here, you’ll find the “Header & Footer” button. A simple click on this button will open a dialog box that allows you to manage the header and footer settings of your spreadsheet.
Step 4: Selecting the Header Content
With the “Header & Footer” dialog box open, you’ll notice the header content displayed within. To delete the header, click once on the header text. This action highlights the entire header, indicating that it’s ready to be edited.
Step 5: Removing the Header Text
Now that the header text is selected, press the “Backspace” key on your keyboard. Watch as the header text disappears, leaving you with a header-free space at the top of your spreadsheet.

Step 6: Handling Multiple Header Sections
It’s worth noting that some spreadsheets may have headers divided into sections. If this is the case, you’ll need to repeat Step 4 and Step 5 for each section individually. Ensuring that all sections are clear of header content guarantees a polished and professional-looking spreadsheet.
Additional Tips for Effective Header Management
- Save a Copy Before Deleting: Before you delete any header, consider saving a copy of your spreadsheet. This precautionary step ensures that you have a backup in case you need to revert to the original version.
- Utilize Page Layout View: To have a better overview of how your changes affect the layout, switch to “Page Layout” view. This view displays headers and footers as they will appear when printed, allowing you to make informed decisions.
- Updating Headers: Instead of completely deleting headers, consider updating them to reflect the current status of your spreadsheet. This is especially useful when sharing or printing your data.
Dealing with Complex Headers
In some cases, Excel users encounter headers that are more complex than simple text labels. For instance, headers may contain logos, images, or intricate formatting. Removing such headers requires a slightly different approach.
Step 1: Enter Header & Footer Editing Mode
To deal with complex headers, first, access the “Page Layout” tab in Excel. Within this tab, look for the “Header & Footer” group and click on the “Edit Header” option. This action will enter the header editing mode, allowing you to make changes to your header content.
Step 2: Modifying or Deleting the Header
Once in the header editing mode, you can directly modify or delete the header content as needed. To remove a complex header, select the elements you wish to delete and press the “Delete” key on your keyboard.
Step 3: Exiting Header Editing Mode
After you’ve made the necessary changes to your complex header, exit the header editing mode by clicking on the “Close Header and Footer” button. Your spreadsheet will return to the regular view, and you’ll notice that the complex header has been successfully removed.
Troubleshooting Header Deletion Issues
While deleting headers is usually a straightforward process, you may encounter some issues along the way. Here are some common problems and their solutions:
Issue 1: Header Not Selecting Properly
If you’re having trouble selecting the header, it’s possible that you accidentally clicked on a cell or an element adjacent to the header. Double-check your selection by clicking directly on the header text.
Issue 2: Missing “Header & Footer” Button
In some versions of Excel, the “Header & Footer” button may not be visible by default. To enable it, go to the “View” tab and check the “Header & Footer” option in the “Show” group.
Issue 3: Header Won’t Delete
If you find that pressing the “Backspace” key doesn’t remove the header, it may be locked. Go to the “Page Layout” tab, click on the “Print Titles” option, and ensure there are no rows or columns specified for “Rows to Repeat at Top” or “Columns to Repeat at Left.” This will unlock the header and allow you to delete it.
Conclusion
Congratulations! You’ve successfully learned how to delete headers in Excel, a skill that can greatly enhance your spreadsheet management abilities. By following these step-by-step instructions and utilizing the additional tips provided, you can confidently remove headers when necessary, maintaining a clean and organized spreadsheet that effectively presents your data.
Remember, Excel proficiency is a valuable asset, and mastering these functions contributes to your overall efficiency and productivity. Happy spreadsheet editing!