Excel, the versatile spreadsheet software from Microsoft, is a powerhouse tool utilized by millions of users worldwide for data organization, analysis, and visualization. One of the lesser-known but incredibly useful features in Excel is the ability to add comments or notes to cells, providing additional context or explanations for the data contained within. However, there are instances when you might want to conceal these comments temporarily or permanently, be it to declutter your worksheet, protect sensitive information, or simply present a cleaner version of your data during presentations or sharing with others. In this blog post, we will explore different methods to hide notes in Excel, catering to both beginners and advanced users alike, allowing you to tailor your approach to your specific needs. So, whether you’re an Excel novice looking to learn the ropes or a seasoned pro seeking to enhance your spreadsheet skills, read on to discover various techniques that will empower you to manage and control the visibility of comments effortlessly. Let’s dive in and unlock the full potential of Excel’s comment features while maintaining a clean and professional-looking worksheet!
Different Methods to Hide Notes in Excel
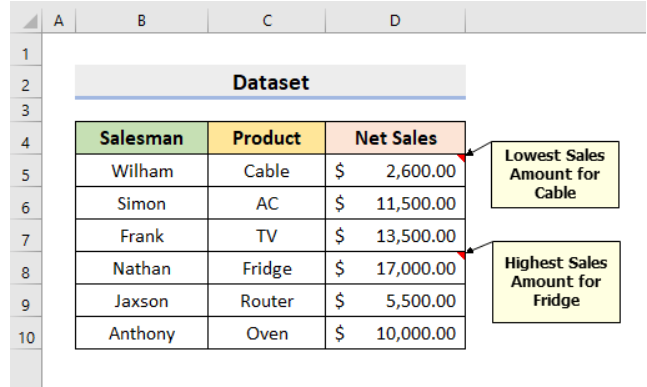
As an example, a sample dataset will be utilized for demonstration purposes. For instance, within the below dataset, there are two Notes located in cells D5 and D8. The forthcoming explanation will outline the process of concealing these Notes.
Method 1: Hiding Notes via the Review Tab
The Review tab in Excel houses a plethora of useful tools, including the ability to manage notes effortlessly. This approach enables you to hide all notes at once or selectively hide specific notes, providing you with a neat and organized view of your data.
Hide All Notes
To conceal all the notes in an Excel workbook at once, simply follow these step-by-step instructions:
- Open the Excel worksheet containing the notes.
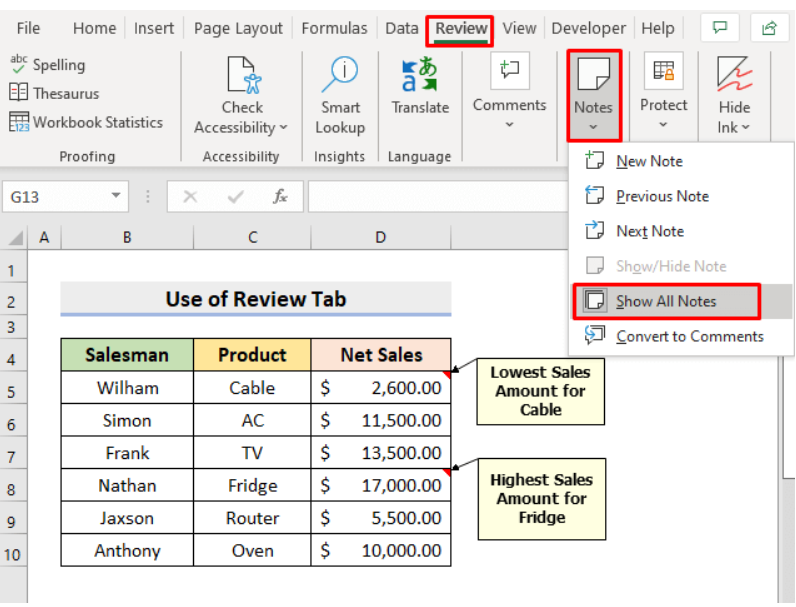
- Head to the Review tab, located on the Excel Ribbon at the top of the window.
- Look for the “Notes” section, positioned beside the “Comments” section.
- Click on “Notes,” and then select “Show All Notes” from the dropdown menu.
By doing so, all the notes in the worksheet will be hidden, leaving you with a clean and uncluttered display of your data.

Hide Specific Notes
When you want to hide only specific notes while keeping others visible, follow these detailed steps:
- Identify the cell that contains the note you wish to hide (e.g., cell D5).
- Select the desired cell by clicking on it.

- Navigate to the Review tab on the Excel Ribbon.
- In the “Notes” section, click on “Show/Hide Note.”

As a result, the note associated with the selected cell will be hidden. However, you can still identify the presence of a note through the small indicator in the cell’s corner. When you hover over the cell, the note will temporarily appear, providing you with quick access to additional information whenever needed.

Method 2: Using the Context Menu for Hiding Notes
The Context Menu in Excel offers a straightforward yet powerful way to hide notes for individual cells. Although this method doesn’t allow hiding all notes simultaneously, it efficiently conceals specific notes without affecting others.
Step-by-Step Instructions:
- Identify the cell containing the note you want to hide (e.g., cell D8).
- Right-click on the cell to open the Context Menu.
- From the list of options, click on “Show/Hide Note.”

By following these steps, the note associated with the selected cell will be hidden.

This approach proves particularly useful when you need to quickly conceal specific notes while maintaining the visibility of others in the worksheet.
Method 3: Customizing Note Display via Excel File Options
This approach offers a more comprehensive solution by modifying settings throughout the entire workbook. By utilizing Excel’s File Options, you can customize the display of notes, ensuring they are visible only when necessary.
Step-by-Step Instructions:
- Open the Excel workbook containing the notes.
- Click on the File tab, located in the top-left corner of the Excel window.
- In the File window, select “Options.”

Following these steps, the Excel Options dialog box will appear, presenting various customization options.
- Navigate to the “Advanced” tab within the Excel Options dialog box.
- In the “Display” section, find the options for “For cells with comments, show.”
- To hide the notes, select the “Indicators only, and comments and notes on hover” option from the available choices.
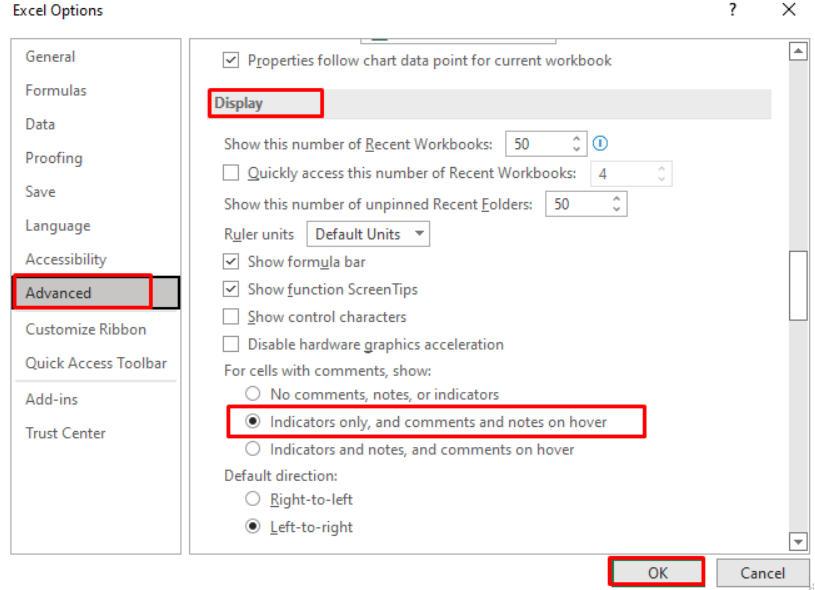
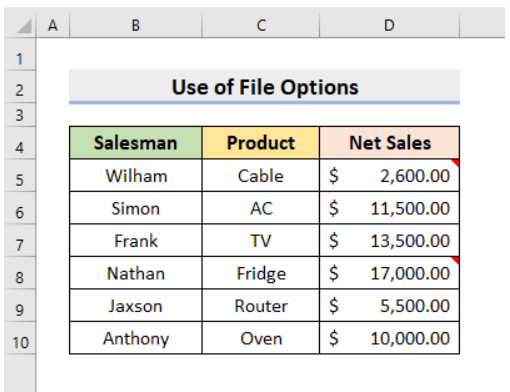
By opting for this setting, the notes in your workbook will only be visible when you hover over the cell containing the note. This helps maintain a clean appearance, reducing distractions while working with your data.
Conclusion
In conclusion, these three handy approaches provide you with the tools you need to effectively manage notes in Excel. Whether you want to hide all notes at once for a clear view of your data, selectively hide specific notes, or customize the display settings for all notes in your workbook, these methods cater to various scenarios and preferences.
By incorporating these techniques into your Excel workflow, you can enhance productivity, maintain organized worksheets, and ensure seamless collaboration with others. Happy Excel-ing!