Microsoft Excel is undoubtedly one of the most powerful and widely used spreadsheet applications, allowing users to organize and analyze data with ease.
While Excel offers a multitude of formatting options, including the ability to adjust cell width and height, merge and split cells, and format text, many users often encounter difficulties when attempting to insert a tab character within a cell. Whether you’re looking to separate data elements or create visually appealing layouts, understanding how to insert tabs within cells can significantly enhance your Excel proficiency.
In this blog post, we will walk you through various methods and techniques that will empower you to incorporate tabs effectively and efficiently, enabling you to optimize your data presentation and make your spreadsheets more visually appealing and user-friendly. So, let’s dive in and explore the step-by-step process of inserting tabs within cells in Excel, unraveling the secrets to mastering this valuable formatting skill!
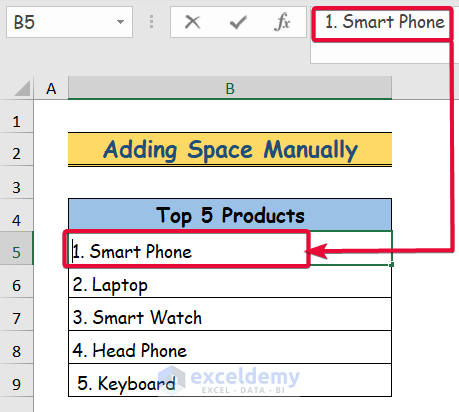
Method 1: Adding Space Manually
The easiest way to insert a tab in an Excel cell is by adding manual space. Follow the simple steps below:
- Double-click on the target cell, for example, B5.
- Position the cursor on the leftmost side of the cell.
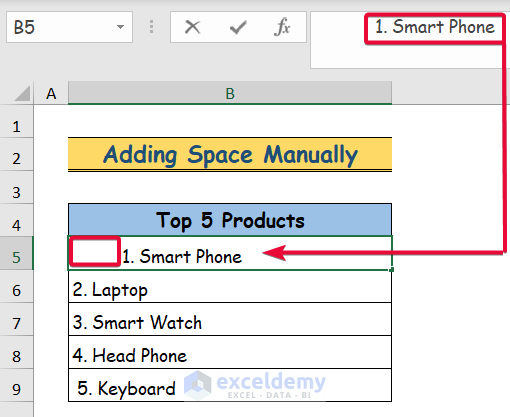
- Press the space button repeatedly to add the desired number of spaces.
- In this example, we will press the space button ten times consecutively.
- By following these steps, a tab will be visually represented within the cell.
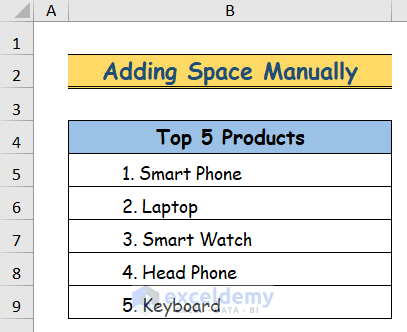
- Repeat these steps for the remaining cells.
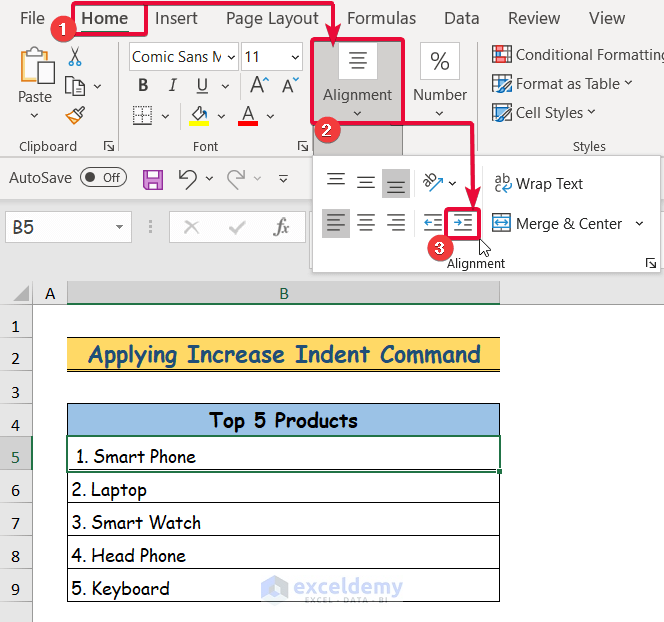
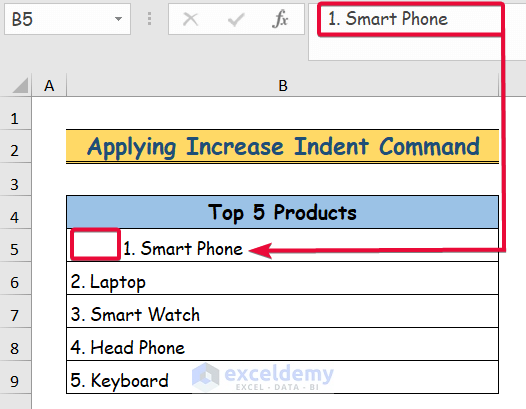
Method 2: Applying the Increase Indent Command
The “Increase Indent” command can be utilized to insert a tab in an Excel cell. This command adds indentation before the text or cell values. Perform the following steps:
- Select the cell where you want to apply the indent.
- Navigate to the “Home” tab in the ribbon.
- Locate the “Alignment” group and click on it.
- Click on the “Increase Indent” command multiple times to achieve the desired level of indentation.
- Repeat these steps for other cells within your dataset.
- By following these steps, your data will appear tabbed within the cells.
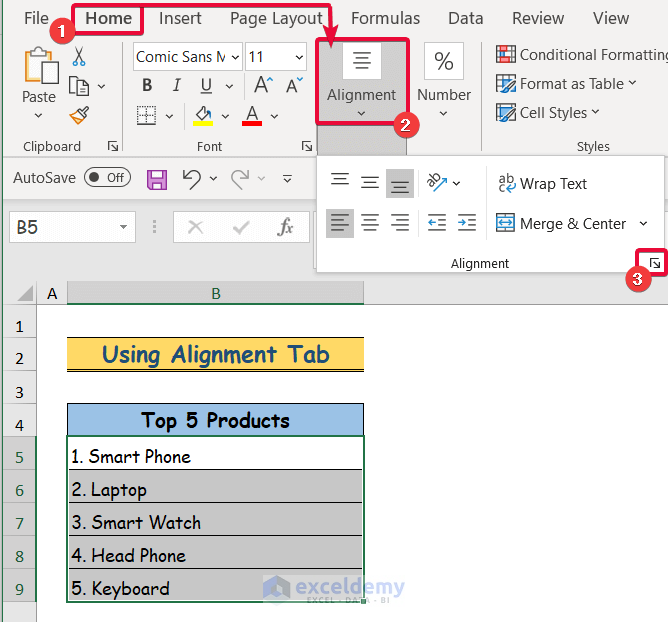
Method 3: Using the Alignment Tab
To insert a tab in an Excel cell, you can utilize the Alignment tab, which allows for text indentation at various levels. Follow these steps:
- Select the cells in your dataset, such as the range C5:C9.
- Go to the “Home” tab in the ribbon.
- Find the “Alignment” group and click on it.
- Click on the small arrow at the bottom right of the Alignment group to open the Format Cells dialogue box, specifically to the Alignment tab.
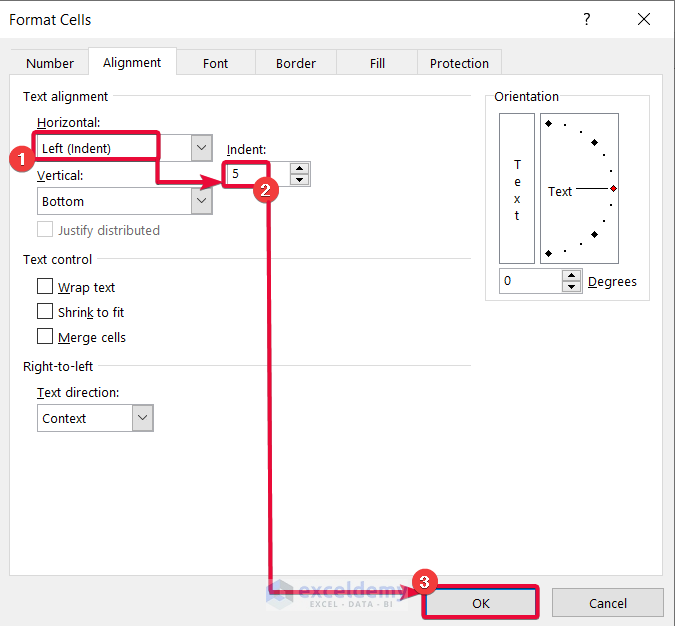
- Within the Alignment tab: Under the Horizontal option, choose the “Left (Indent)” text alignment.
- Select an appropriate indentation value using the “Indent” option.
- For instance, let’s choose 5.
- Click OK to apply the changes.
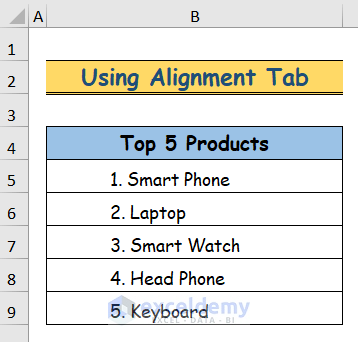
By following these steps, a tab will be inserted before the data in the selected cells.
Method 4: Applying the CHAR Function
The final method involves utilizing the CHAR function to insert a tab in an Excel cell. The CHAR function returns a specified character based on its corresponding integer value. Additionally, we will use the REPT function to repeat a specific text multiple times. Perform the following steps:
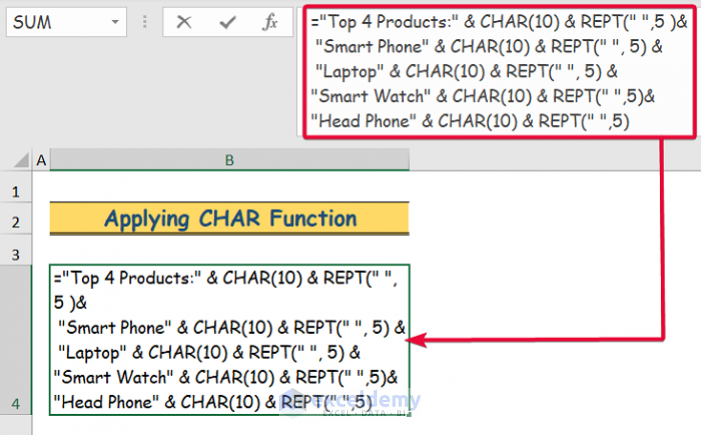
- Select the cell where you want to insert the tab, such as B4.
- Enter the following formula:
=”Top 4 Products:” & CHAR(10) & REPT(” “, 5) & “Smart Phone” & CHAR(10) & REPT(” “, 5) & “Laptop” & CHAR(10) & REPT(” “, 5) & “Smart Watch” & CHAR(10) & REPT(” “, 5) & “Head Phone” & CHAR(10) & REPT(” “, 5)
- Press Enter to apply the formula.
- Go to the “Home” tab.
- In the “Alignment” group, click on the “Wrap Text” command.
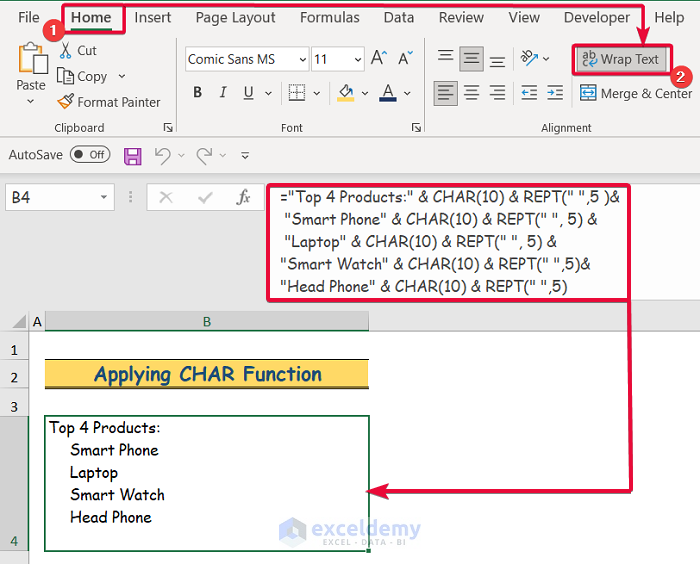
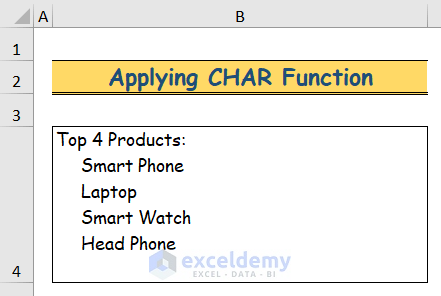
By following these steps, a tab will be inserted before the data in the cell, and the text will be wrapped within the cell.
Conclusion
By utilizing the techniques and methods outlined in this guide, you can enhance the readability and aesthetics of your spreadsheets, making them more user-friendly and visually appealing. Whether you’re creating reports, tables, or any other form of data presentation, the ability to insert tabs within cells allows for clear differentiation and separation of data elements.
Remember to experiment with the various methods discussed, such as using the CHAR function, the Find and Replace feature, or even custom keyboard shortcuts, to find the approach that works best for your specific needs. Excel’s flexibility and customization options make it a powerful tool, and by adding tabs to your cells, you can take your spreadsheet skills to the next level.
So, go ahead and start incorporating tabs within your cells, and watch as your data becomes more organized, professional-looking, and easier to navigate. Happy tabbing!