Whether you’re a beginner looking to enhance your spreadsheet presentation or an experienced Excel user seeking to streamline your data visualization, this step-by-step tutorial will equip you with the knowledge and skills to create professional-looking borders that make your data stand out.
Borders play a crucial role in organizing and highlighting information, making it easier for readers to navigate through the sea of cells and comprehend the underlying data. From outlining entire tables to emphasizing specific ranges, Excel’s bordering options provide a versatile toolkit to add structure, clarity, and visual appeal to your worksheets.
In this blog post, we will walk you through the process of applying outside borders in Excel, discussing customization options, and handy tips to help you make the most out of this powerful feature. So, let’s dive in and unlock the potential of outside borders to transform your spreadsheets into professional works of art!
Understanding the Importance of Outside Borders
Outside borders play a crucial role in Excel spreadsheets. They help to organize and structure data, making it easier to read and interpret. By adding borders to the outer edges of cells or ranges, you can visually separate different sections, highlight headers, or create a distinction between data sets. This visual separation enhances clarity and reduces confusion, allowing users to quickly grasp the overall layout and scope of the data.
Additionally, outside borders serve as a valuable tool for emphasizing important information. By selectively applying borders to specific cells or ranges, you can draw attention to key data points, such as totals, summaries, or significant values. This emphasis ensures that crucial information stands out and is easily identifiable.
Furthermore, outside borders contribute to the professional appearance of your Excel spreadsheets. They add a polished touch, making your data presentation more visually appealing and impactful. When sharing your spreadsheets with others, well-designed borders create a positive impression and enhance the credibility of your work.

Applying Outside Borders in Excel – How to Do It
To apply outside borders to cells or ranges in Excel, follow these steps:
Selecting the Range: Start by selecting the range to which you want to apply the outside borders.

Navigating to the Home Tab: Go to the Home tab in the Ribbon, located at the top of the Excel window.
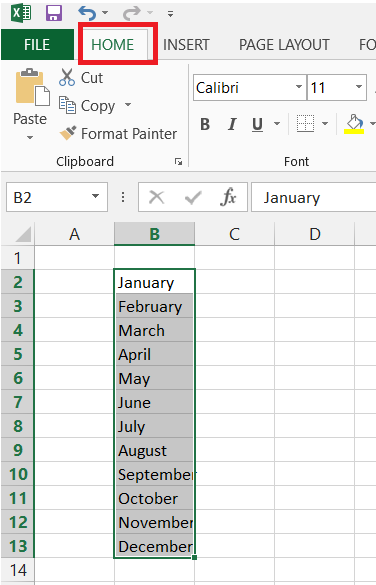
Accessing the Border Options: In the Font section of the Home tab, locate the border icon. It is represented by a square with various border lines. Click on the arrow beside the border icon.

Selecting Outside Borders: A menu will appear with different border options.

From the menu, select ” Outside Borders.”

This option will apply the outside borders to the selected range.

By following these steps, you can quickly apply thick outside borders to your desired range in Excel.
Modifying Outside Borders
Once you have applied outside borders to cells or ranges, you can modify them according to your preferences. Here are two common modifications you can make:
- Removing Borders: If you want to remove the outside borders from a selected range, follow the same steps as above and select the “No border” option in the Border tab.
- Changing Border Styles: Excel provides various border styles to choose from. To change the style of the outside borders, select the desired style from the Border tab in the Format Cells dialog box.
Tips for Using Outside Borders Effectively
Here are some tips to help you use outside borders effectively in your Excel spreadsheets:
- Use outside borders sparingly to avoid overwhelming the data. Selectively apply them to emphasize important sections or headers.
- Combine outside borders with other formatting options like font styles, colors, or cell shading to create visually appealing and informative spreadsheets.
- Experiment with different border styles to find the one that best suits your data and presentation needs.
- Regularly review and update your borders to ensure consistency and clarity in your spreadsheet designs.
Conclusion
In conclusion, understanding and utilizing outside borders in Excel is essential for creating visually appealing and well-organized spreadsheets. By applying outside borders strategically, you can enhance readability, emphasize important information, and give your data a professional touch.
By following the step-by-step guide provided in this article, you can easily add outside borders to cells or ranges and customize them according to your preferences. So, go ahead and start incorporating outside borders into your Excel worksheets, transforming them into visually stunning and easily navigable data presentations.